Your cart is currently empty.
Make your own Antique Mirror: Part 1
Here at O’verlays we have been trying to figure out how to add mirror to many Ikea pieces,
but the big problem we kept running into was the thickness of the mirror.
When added to a flat drawer front with an O’verlay on top, you could still see the edge of the mirror behind the O’verlay panel. This meant needing to put a framed molding around to hide the edges. Too much work, and our main reason for making O’verlays was to give you an easy to do look.
SO after much product testing and many failures,
we figured out how to make “antiqued mirrored contact paper”.
It is super thin and unnoticeable from behind an O’verlay,
so all you need to do is follow this how to, cut and paste away.
This is the Cliff Notes how to version.
Danika did an extensive post over on her DIY blog Gorgeous Shiny Things
with links to all the products used and other helpful recommendations,
so we suggest reading that one too if you are going to make it.

Enter the two main players for this look:

Get Grafix Clear Plastic Lay here and we recommend using the .01 thickness if you can
and Krylon Looking Glass spray at Michael’s or other craft stores.
you also need a cans of gold and black spray paint (any brand), a damp sponge, a bowl of water, a hair dryer and spray adhesive AND a well ventilated space.
1) Tape down a good sized piece of Clear Plastic Lay

2) Apply 2 coats of Looking Glass Spray

3) blow dry between coats

4) spray a light coat of gold spray paint on and blow dry

5) Splatter with water

6) Spray with Looking Glass Spray

7) Blow dry for about 10 seconds to set the paint

8) Blot up the water drops with a sponge, this will leave the drop mark look, and dry

and repeat all the steps again to get a layered patina look
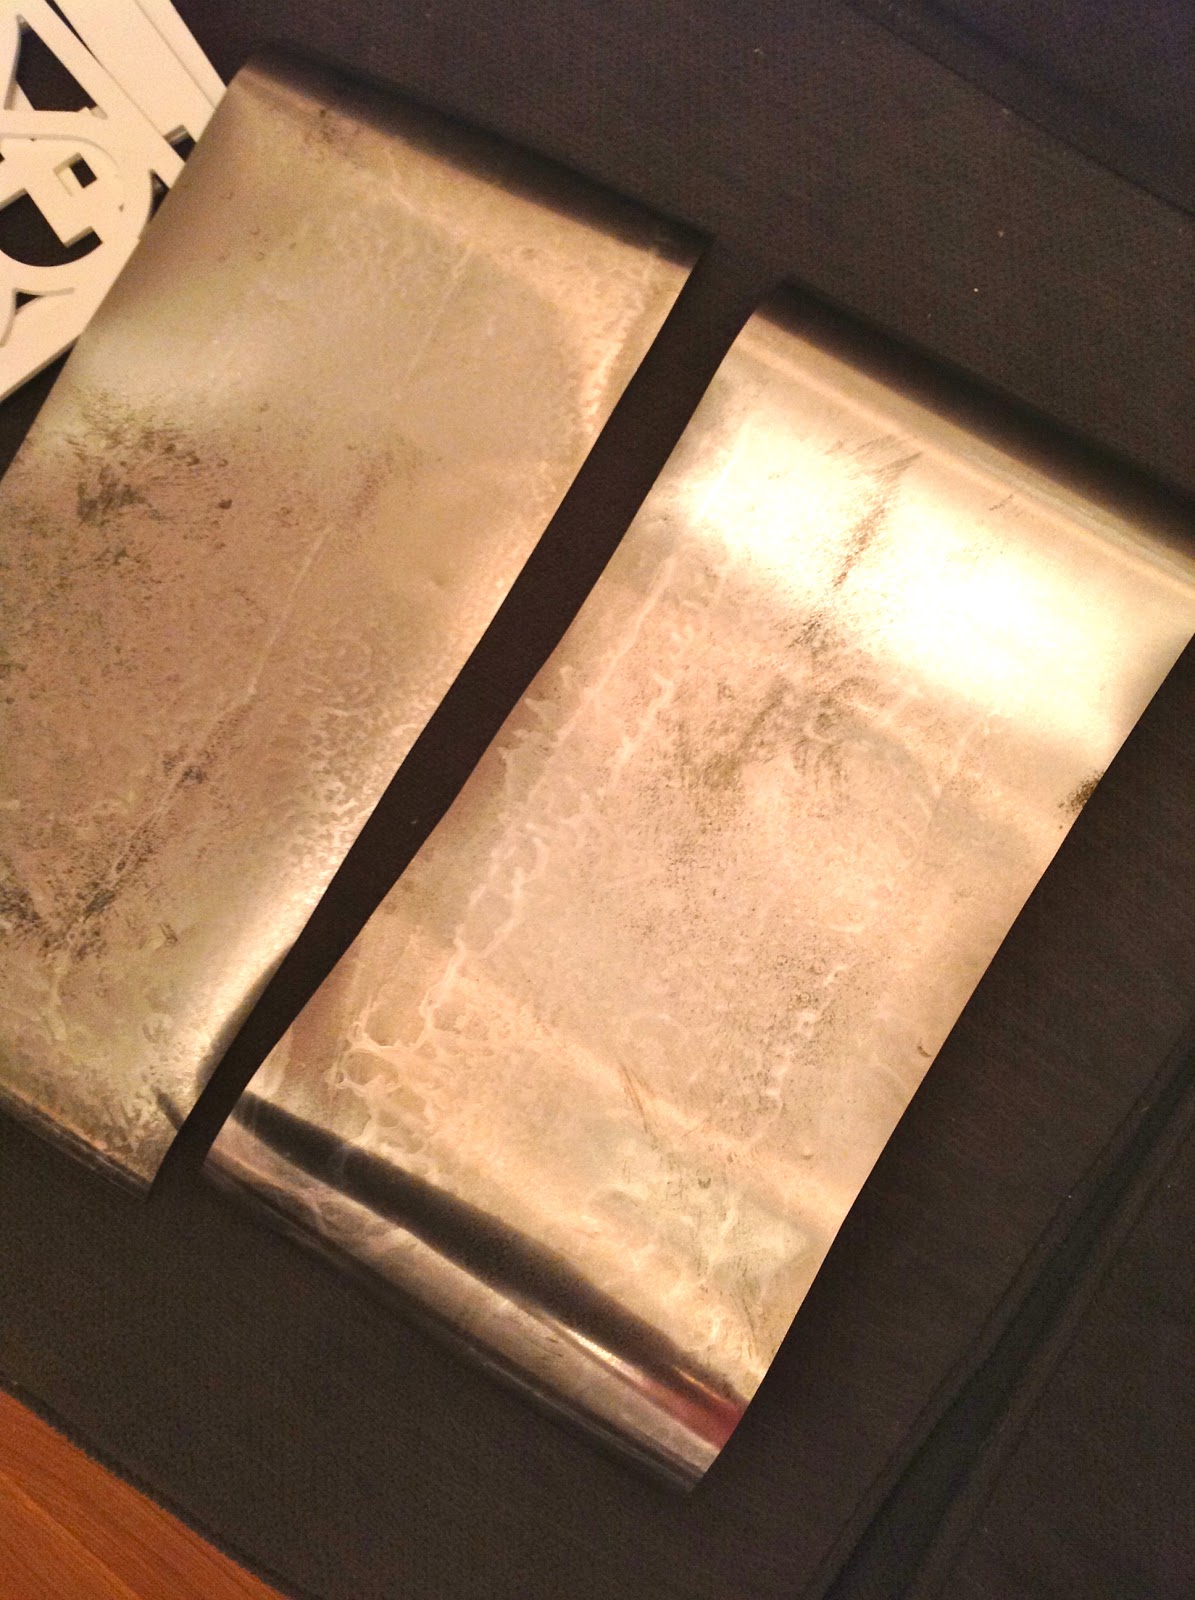
It should look something like this:

Flip it over, the painted side is going to be the backside.
Now lay it on a black surface and see if you are happy with the results.
Mess around some more if you aren’t other wise you can spray the backside with a light coat of black spray paint and let it dry.
Now to apply to your furniture.
We tested this on a Rast drawer front and a Malm.

First you need to trim the plastic to the sizes you need.
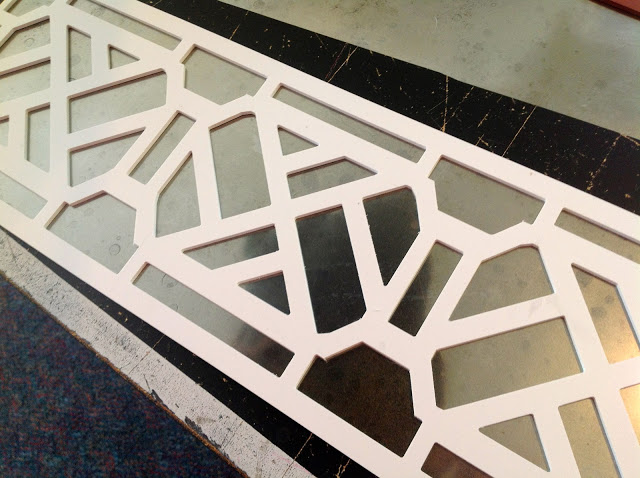
We laid our O’verlays on the plastic and found two areas we liked:

Next, carefully trace with a Sharpie making sure not to get marker on the O’verlay:

and then cut about 1/4-1/2″ in from the line so it will be a little smaller than the panel.*
(*It is important to have the O’verlay attach directly to the dresser.
We tried this where the O’verlay and the mirror were the same size, but the O’verlay didn’t stay put when it was only attached to the smooth mirror part. By making the mirror smaller you get an outer edge on the O’verlay that will make direct contact with glue & the dresser. This also sandwiches the mirror in place.)
You can apply these by lightly spraying the backsides with Spray Adhesive and pressing in place:

someone needs a manicure!

OR we liked this idea:

1. Spray the backside of the O’verlay with Spray Adhesive

2. Press the mirrored plastic onto the backside

3. Apply Liquid nails glue along the edge of the O’verlay and apply like you normally would

Voila! What do you think?

Stay tuned, we have a whole bunch more mirrored applications coming up!