Your cart is currently empty.
MirrorMate-Part 2
We have a little update for you on the MirrorMate mirror we did for Cheryle’s bathroom.
When we last left off on this project we had just added the fabulous Mirror Mate frames to Cheryle’s plain bathroom mirror…
When we last left off on this project we had just added the fabulous Mirror Mate frames to Cheryle’s plain bathroom mirror…
In case you missed it here was the “after” transformation..

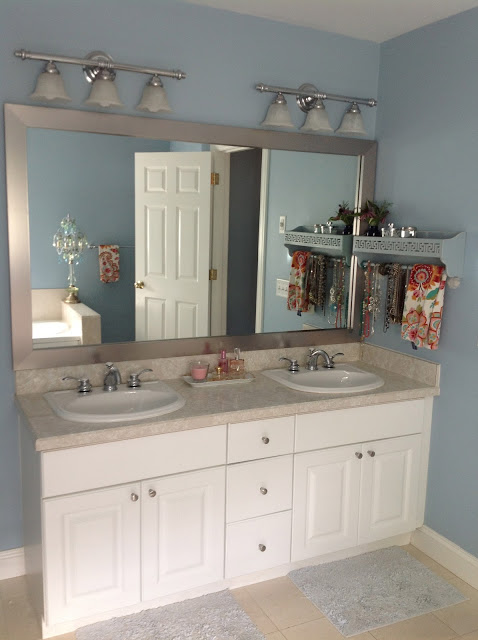
Here was the before:

We just loved how they transformed the space. They really made the vanity feel more substantial and totally dressed it up. And best of all they were so easy to install.
Well we just can’t leave well enough alone,
and we had hinted about possibly putting a cherry on top with some O’verlays.
So of course we did!
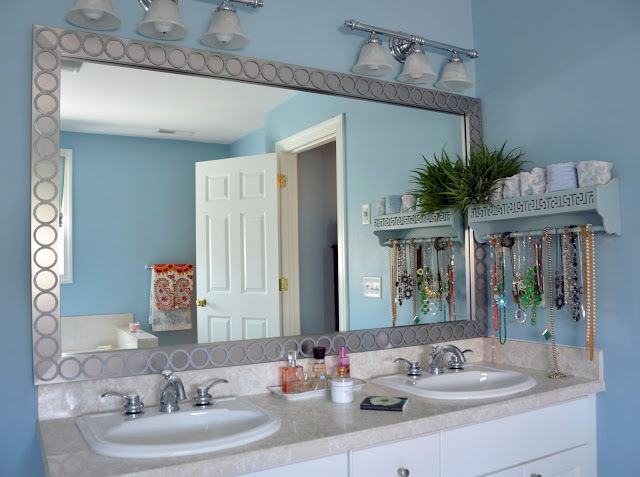

Cheryle chose the Lolita strips, and we resized them a hair larger so that they would meet perfectly in the corners (anything is possible if you go through our Custom Department).
They were sprayed silver to match the Mirror Mates Frame, and then we set to work adding glue to the backsides:

It took two people to position the longer strips in place
and make sure we didn’t smudge too much glue:

Since gravity is not our friend, we added blue painter’s tape to prevent them from sliding and hold them in place while they dried:

Any glue that seeped through the edges was quickly wiped away with a Q-tip:

And then we left them to dry:

And there you have it, a MirrorMate/ O’verlays union!
What do you think?
