-
Why Referral Information Matters
RainBet Referral Resources Overview Users who want to better understand referral systems often look for reliable sources of information. One such resource is rainbetreferralcode.com/, which provides general information about referral tracking, user participation, and attribution processes. Learning how these systems operate can help users gain a clearer understanding of the mechanics behind referral-based platforms. Understanding…
-
Our Ikea Hack for the Ikea Hauga series
O’verlays offers a classic collection of O’verlays kits to hack your Ikea Hauga dressers. Our offerings are the Anne kit (as seen below), Blaire kit, Charles kit and Rex kit. Do you want a different design? Let us know and we will create it! Can’t wait to see your creations. The O’verlays Team
-
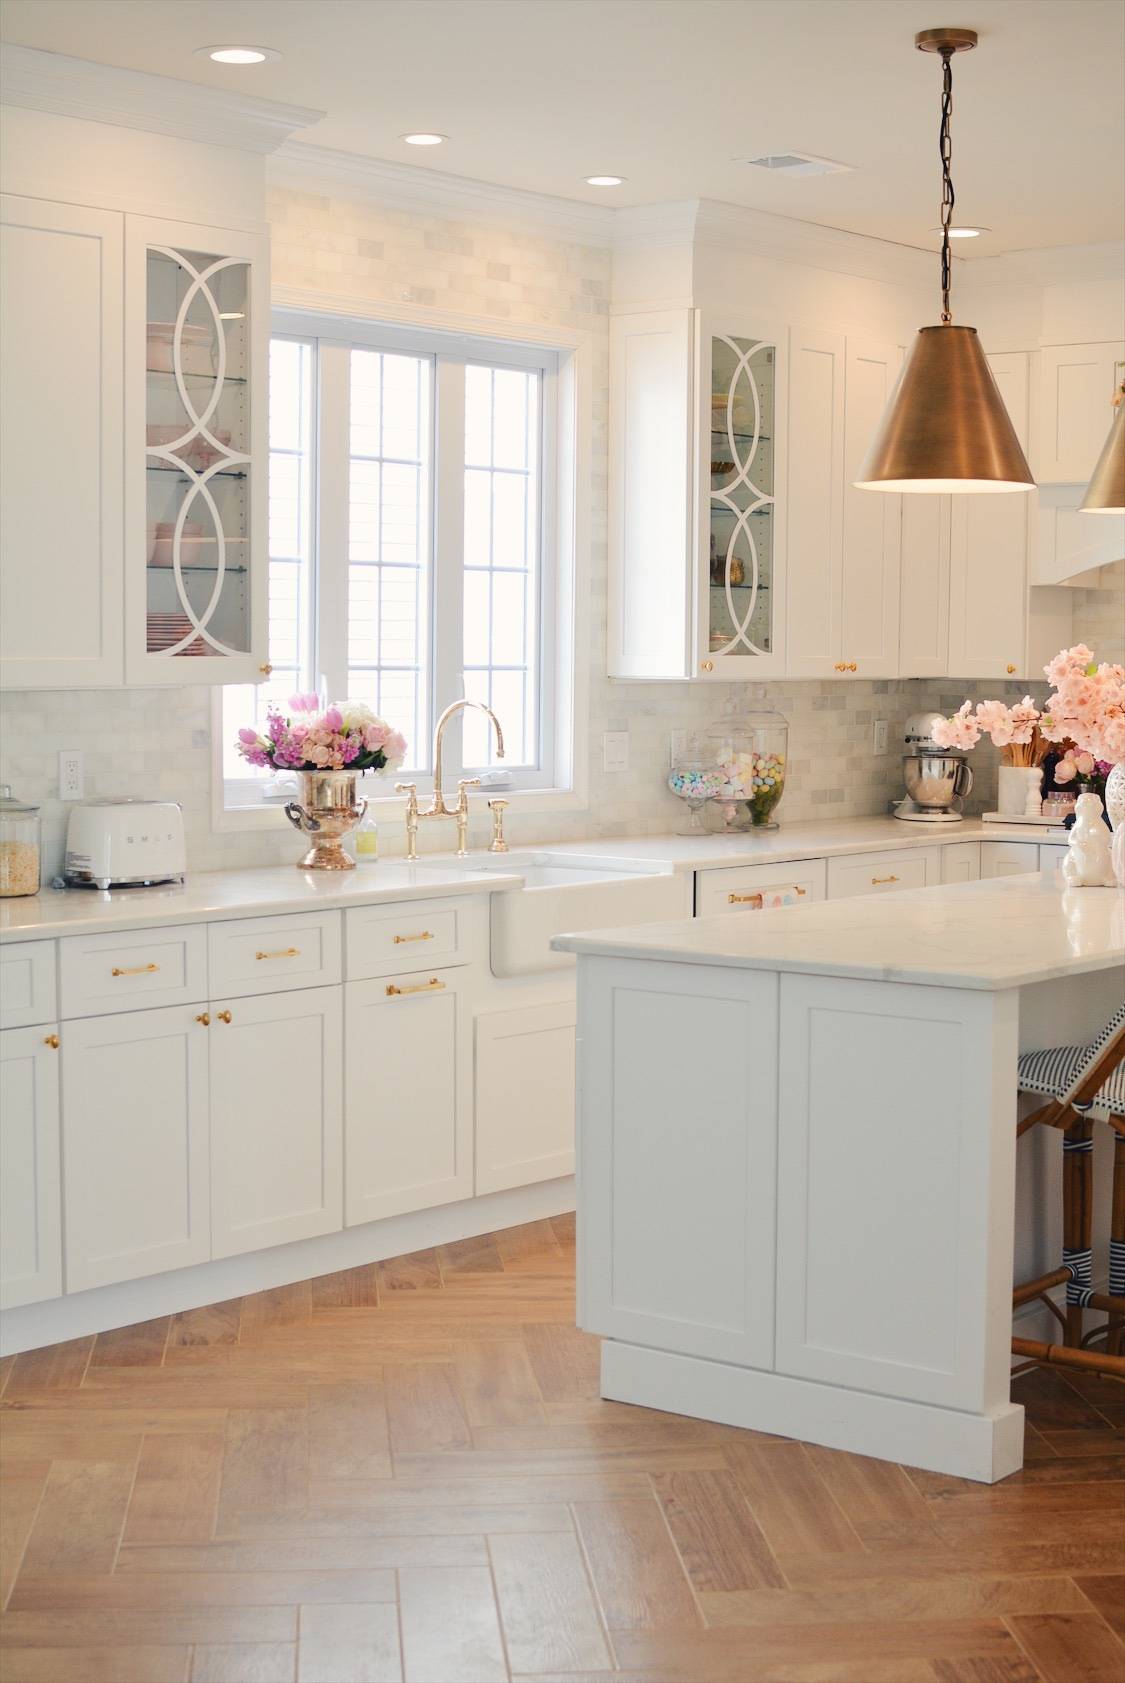
Affordable Kitchen Cabinet Mullions
Mullions can add a special element to cabinetry. Brand new or as part of a face lift.We’ve seen how Ceres maximized her kitchen design by adding O’verlays. See more examples of our customers cabinet transformations. For more information or a quote please go to the custom orders page.
-
10 Apps to Have on Hand for Your Next Home Project
10 Apps to Have on Hand for Your Next Home Project Below are a list of essential apps that will aid you in whatever process you are planning on for your home. When taking on a home improvement project, it is important to use all of the resources you have available to make the process…